How to Make Easy Handmade Udon Noodles
![]()

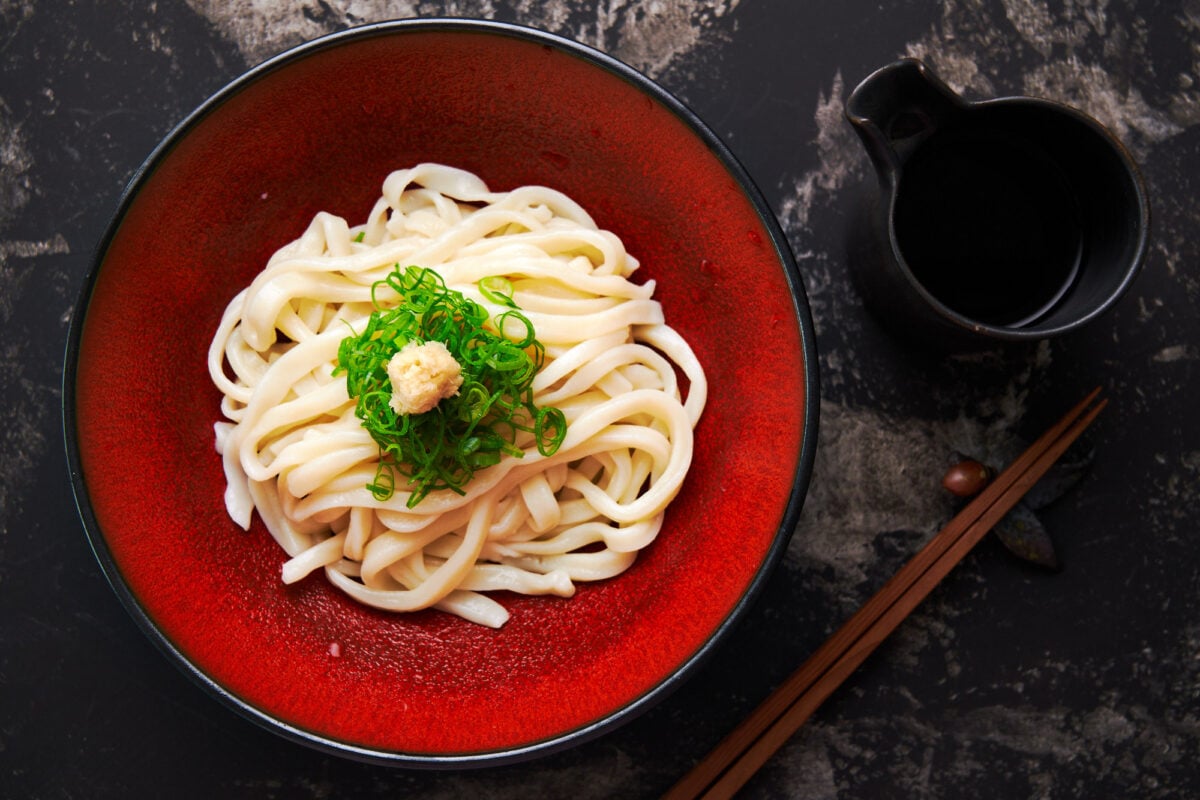
Homemade Udon Noodles (手打ちうどん)
Udon is a thick Japanese noodle made with all-purpose flour, salt, and water. While there's nothing complicated about the ingredients, the technique to produce uniform noodles with a slick bouncy texture can take some practice. In this udon tutorial, I will show you everything you need to know to start making these delicious noodles in your own kitchen.
Why This Recipe Works?
- Unlike most recipes, precisely measuring the ingredients for udon is critical. Due to variations in sizes in measuring cups (I go into more detail on this in my video), I highly recommend using a scale to measure everything.
- Gluten forms when gliadin and glutenin, two proteins found in wheat flour, form bonds to produce long elastic gluten chains. This is achieved by hydrating and agitating the flour, so the more you knead the dough, the more elastic it becomes. This gives the noodles it's unique texture, and why I recommend kneading the dough 150-200 times.
- While developing a robust network of gluten is essential for Udon's texture, it's like a tangled ball of stretched out rubber bands after you're done kneading it. This makes it very difficult to roll out uniformly, so the dough needs to rest to give the gluten a chance to relax.

Ingredients for Udon Noodles
- Flour – If you want to make udon noodles like they have in Japan, you will need to find Japanese Chūrikiko (中力粉). It has an 8-9% gluten content and milled to a very fine consistency. The mineral content also lends itself to producing a light yellow noodle. That being said, I've made udon with both American and French all-purpose flour, and they will still make decent noodles. The biggest difference is visual, as the noodles tend to end up grey or beige in color.
- Water – I use room temperature tap water to make my udon. Although 180 grams of water is roughly 3/4 of a cup, I had a few batches of dough that turned out too dry. After some testing, I discovered the 3/4 cup I was using only holds 160 grams of water. I checked all of my measuring cups, and all of them were either under or over by a significant amount.
- Salt – Any salt will work here. I usually use sea salt, but it's best to use one that's not too coarse, or it will take forever to dissolve in the water. One important thing to note is that different types of salt have different crystal sizes, which is why it's better to weight them. 17 grams of salt is about 1 tablespoon of table salt, but if you're using kosher salt, it's more like 1 1/2 tablespoons.
- Potato starch – While you can use flour to dust the dough and noodles to keep them from sticking, I've found that starch works much better, especially if you're not going to boil the noodles right away.

How to Make Udon Noodles
The first thing you want to do is weight out your flour, water, and salt. Precision is critical for this recipe to work, so if you don't have a scale, I recommend buying one. You can get a cheap digital scale for around $10 on Amazon, and once you have one, you'll realize how much easier (and more accurate) it is to weigh ingredients than to measure them out with cups.
Once you have everything measured, you need to make a brine by dissolving the salt in the water. Make sure the salt crystals are completely dissolved.
Next, you want to hydrate the water in stages. This is done by drizzling the brine into the flour in 3-4 additions and then whisking the flour with your fingers. The idea is to evenly hydrate the noodles, so you end up with shaggy dough consisting of similar-sized pieces. You don't want to have some areas that are very wet and other areas that are completely dry.
Once the flour is evenly hydrated, you can knead the dough together into a ball. If the dough is still a little brittle, try covering the bowl and letting the dough rest for 30 minutes before proceeding.
Now you can move the ball of dough to a clean work surface and knead it. You want to use the palm of your hand and your body's weight to press the dough out. Then you can fold the dough back over itself before repeating the process 150-200 times. When the Udon dough is ready, it should be extremely bouncy and elastic.
Shape the kneaded dough into a ball by stretching out the dough's top and tucking it into the bottom. Place the ball of dough in a bowl and cover it to keep the dough from drying out. Let this rest for one and a half to two hours. This gives the gluten a chance to relax so you can roll it out evenly (this also works for pizza dough).
After the dough has had a chance to rest, give it a generous dusting of starch and press it out into a thick disk.
Use a rolling pin to press the dough out in steps from the center of the disk away from you. You want to pick up the pin after each press and then move it forward before pressing again. Then use a similar motion to press the dough from the center towards you.
Turn the dough 90 degrees and repeat, pressing out from the center and pressing in from the center.
Next, you want to roll the dough out from the center and in from the center and turn it 90 degrees and repeat. You should now have a sheet of dough that's about 1/4-inch thick and shaped like a square with rounded corners, but it's still too thick to make udon noodles.
Dust the sheet of dough with more starch, and starting from one corner, roll the dough onto the rolling pin, and roll the dough and pin together, sliding your hands out from the center as you roll it away from you. This stretches the dough in both directions at once, which helps maintain the shape.
Once the dough is about 1/8 of an inch thick, unroll it from the rolling pin and then turn it 45 degrees, so the square's straight edge is facing you. Dust the dough with starch again, and roll it onto the pin starting from the straight edge. Rolling the dough a few times in this direction helps even out any thick spots.
Now when you unroll the dough, you should have a roughly square sheet that's about 1/8 of an inch thick.
Generously dust the dough with starch and fold it a few times like you're making a fan, but stagger the folds, so no two folds are directly on top of each other. This prevents the dough from getting flattened too much where the folds are.
Transfer the dough to a cutting board and add more starch between the folds. Use a large sharp knife to slice the udon noodles in a single stroke without applying much downward pressure. You can cut them as thick as you like, but keep in mind that the udon will double in thickness when you boil them.
If you let the cut noodles sit too long after they're sliced, they can stick back together again, so I usually do this in batches and separate the udon I've cut by applying more starch to them and curling them into nests.

How to Cook Udon Noodles
Bring a large pot of water to boil. You don't need to salt the water because they already contain a lot of salt. Be sure you use a lot of water to dilute the starch on the surface of the Udon.
Add as many servings of noodles as you need and stir for the first thirty seconds to keep the Udon from sticking together. Keep the pot at a low boil and cook the noodles until they are no longer opaque in the center (for noodles about 1/8-inch in diameter, it should take 12-13 minutes). Keep an eye on the pot as it can quickly boil over.
When the noodles are done, drain them, and then rinse thoroughly with cold water to remove any excess starch on the noodles' surface.
How to Eat Udon
Udon is an extremely versatile noodle, and it can be prepared both hot and cold. Regardless of how you plan to use them, they're always boiled first, and I recommend washing them once to rid them of excess starch.
They can then be reheated in hot water and served in soup with various toppings, or they can be served with a concentrated dipping sauce called Mentsuyu. For chilled Udon, the noodles are typically served with mentsuyu and various condiments, which can include nori, scallions, shiso, ginger, or wasabi. More recently, chilled udon has been served more like a Western salad by mixing the noodles with vegetables, protein, and a dressing. Here's a recipe for soba noodle salad where you can swap out the soba for 2 portions of udon.
Because of their resistance to going mushy, Udon is also great for stir-fries such as Yakiudon. I'll include a list with links to some of my recipes using Udon Noodles below.
Other Udon Recipes
- Kitsune Udon
- Yaki Udon
- Tomato Udon
- Buta Udon
Udon FAQ
What is Udon?
Along with Hiyamugi and Somen, Udon is one of three traditional wheat-based Japanese noodles. It's made differently depending on the region of Japan, but it's typically rolled and cut into relatively thick noodles. Variations include Inaniwa Udon, which is hand-pulled, and Hōtō, which are cut into very wide strips.
How do you make Udon soup?
Udon can be served in hot broth or with a cold concentrated broth. Both of these are made using a base called Mentsuyu (めんつゆ), which consists of concentrated dashi, soy sauce, sake, and sugar. Please see my Mentsuyu recipe for more details.
How do you pronounce Udon?
U-don has two syllables, and each one is pronounced as follows:
u like oops
don like donut, not "dawn"
Why did my noodles turn grey/beige
Japanese flour has a unique milling process that changes their mineral content and gives the flour a light yellow color. All-purpose flour from other countries will work, but the noodles will likely turn out grey or beige in color.
Are Udon Noodles gluten-free?
No, udon is made with wheat flour, and the gluten in the flour gives them their unique bouncy texture.
Is Udon vegan?
Yes, udon noodles do not contain eggs and are therefore plant-based.

- 400 grams all-purpose flour see ingredient headnotes above
- 180 grams water
- 17 grams salt
- Potato starch for dusting
-
Dissolve the salt in the water to make a brine.

-
Hydrate the flour by adding the brine in 3-4 additions, and briskly mixing between each addition with your hands.

-
Knead the dough into a ball and then transfer it to a clean work-surface to continue kneading.

-
Knead the dough 150-200 times or until the dough becomes extremely elastic and resilient.
-
Stretch the dough into a smooth ball and place it in a covered bowl to rest for 1.5 to 2 hours.

-
After the dough has rested, dust it with starch and press it into a thick disk using your hands.

-
Press the dough out in steps by lifting and pressing a rolling pin from the center of the disk away from you and then repeat pressing it in steps towards you.

-
Turn the dough 90 degrees and repeat step 7.
-
Now use the rolling pin to roll the dough out from the center and roll the dough in from the center.

-
Turn the dough 90 degrees and repeat step 9.
-
Dust the Udon dough with starch and starting from the corner closest to you, wrap the dough around the rolling pin. Roll them together until the sheet of dough is about 1/8-inch thick.

-
Unroll the dough and turn it 45 degrees. Dust the dough with starch and wrap it around the pin again, starting from the straight edge. Roll it around a few times to even out the thickness of the dough.

-
Unroll the dough and spread a generous amount of starch onto its surface. Fold the dough like a fan, staggering the folds so that they don't overlap each other.

-
Use a sharp knife to cut the dough into noodles using a single stroke.

-
Separate the strands of Udon and dust with more starch to keep them from sticking together.

-
To boil the Udon, heat a large pot of water to a boil.
-
Dust off any excess starch and add the noodles to the boiling water. Stir-for the first 30-seconds to keep them from sticking together.

-
Boil the noodles until they're translucent (12-13 minutes for 1/8-inch thick noodles) and then drain and rinse the Udon with cold water to remove any excess starch. For serving suggestions, check the headnotes above.

Don't miss out SIGN UP!
Calories 364 kcal Carbohydrates 76 g Protein 10 g Fat 1 g Saturated Fat 1 g Sodium 1651 mg Potassium 107 mg Fiber 3 g Sugar 1 g Calcium 15 mg Iron 5 mg
Source: https://norecipes.com/homemade-udon-noodles/
0 Response to "How to Make Easy Handmade Udon Noodles"
Post a Comment